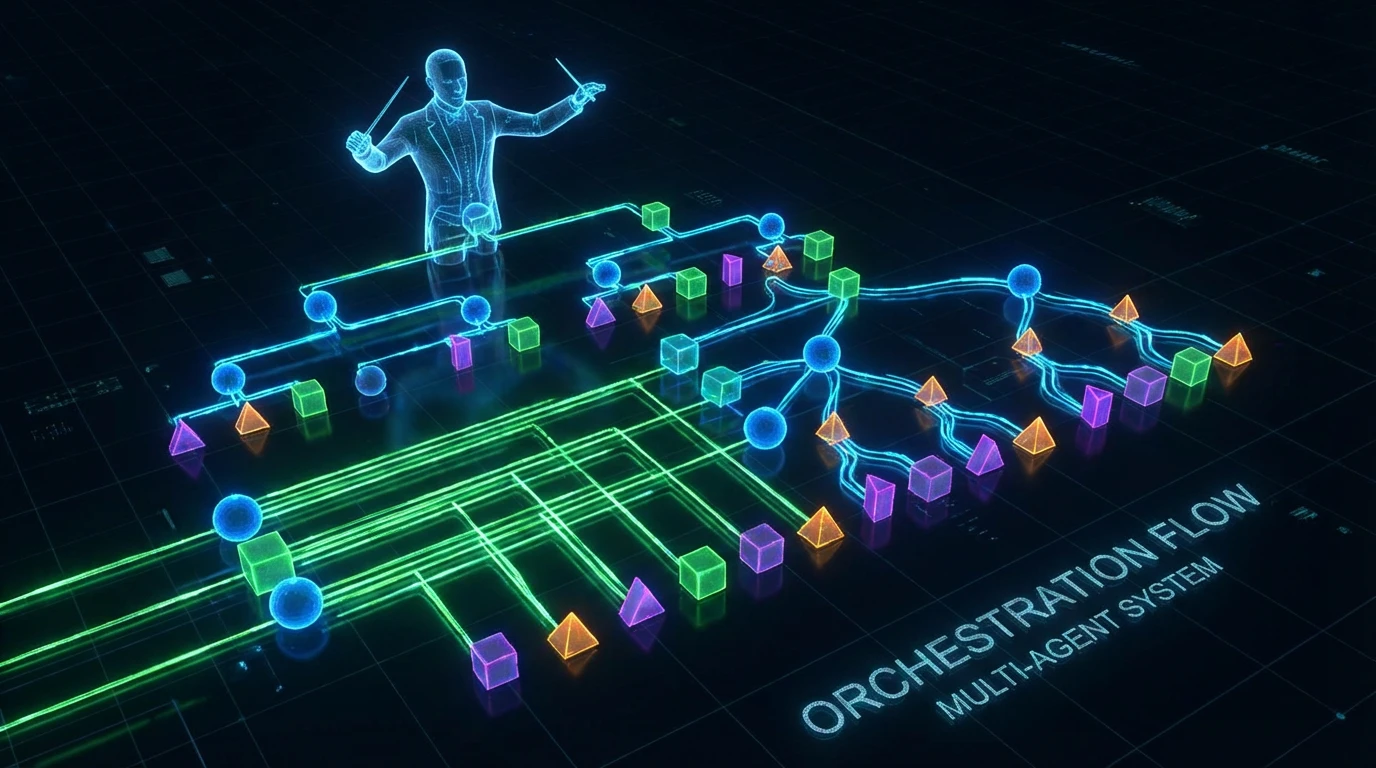
Multi-Agent Patterns That Actually Work
Not everything needs multiple agents. But when it does, here are the patterns I've found useful.
"Let's use multiple AI agents working together!"
Usually, this is a solution looking for a problem. Single agents with good tools solve most use cases.
But sometimes — sometimes — multiple agents genuinely work better. Here are the patterns I've found valuable.
When NOT to Use Multi-Agent
First, the negative space.
Don't use multi-agent for:
- Simple request-response flows
- Tasks a single agent with tools can handle
- Impressive demos with no production requirement
- Adding complexity to seem sophisticated
Multi-agent systems are harder to debug, more expensive to run, and more complex to maintain. Only use them when the benefits outweigh these costs.
When Multi-Agent Makes Sense
Use multi-agent when:
- Different tasks require fundamentally different capabilities
- Tasks can run in parallel for speed
- You need human review at specific stages
- Specialization genuinely improves quality
- Error isolation matters (failure in one shouldn't cascade)
With that filter, here are patterns that actually work.
Pattern 1: Router/Dispatcher
The simplest multi-agent pattern. One agent routes to specialists.
flowchart TD
    A[User Query] --> B{Router Agent}
    B -->|sales inquiry| C[Sales Agent]
    B -->|support issue| D[Support Agent]
    B -->|technical question| E[Technical Agent]

    class B decision
    class C,D,E worker
When to use: When you have distinct domains that need different instructions, tools, or knowledge bases.
Key insight: The router should be fast and cheap. Use a smaller model. Route based on clear signals.
Failure mode: Over-routing. If every query goes through a router before doing anything, you've added latency and cost for no benefit.
Pattern 2: Parallel Execution
Multiple agents work simultaneously, results get merged.
flowchart TD
    A[Research Query] --> B[Coordinator]
    B --> C[Web Research Agent]
    B --> D[Database Query Agent]
    B --> E[Document Search Agent]
    C & D & E --> F[Synthesizer Agent]
    F --> G[Final Answer]

    class B,F decision
    class C,D,E worker
    class G success
When to use: When you need information from multiple sources and can query them concurrently.
Key insight: Parallelism only helps if the subtasks are truly independent. If Agent B needs Agent A's output, it's not parallelism.
Failure mode: Fan-out explosion. Spawning 20 parallel agents for a simple query is wasteful. Limit concurrency.
Pattern 3: Hierarchical (Supervisor-Worker)
A supervisor decomposes tasks, assigns to workers, aggregates results.
flowchart TD
    A[Complex Task] --> B[Supervisor Agent]
    B -->|subtask 1| C[Worker A]
    B -->|subtask 2| D[Worker B]
    B -->|subtask 3| E[Worker C]
    C & D & E --> F[Supervisor Agent]
    F -->|aggregates and refines| G[Final Output]

    class B,F decision
    class C,D,E worker
    class G success
When to use: Complex tasks that naturally decompose. When you need oversight over specialist work.
Key insight: The supervisor needs to be genuinely smarter/more capable than workers. Otherwise, why have hierarchy?
Failure mode: Over-decomposition. Breaking simple tasks into subtasks adds overhead. Let the supervisor handle simple things directly.
Pattern 4: Critic-Refiner
One agent generates, another critiques, iterate until good.
flowchart TD
    A[Task] --> B[Generator Agent]
    B --> C[Draft Output]
    C --> D{Critic Agent}
    D -->|not good enough| B
    D -->|good enough| E[Final Output]

    class D decision
    class B worker
    class E success
When to use: When quality matters more than speed. Code generation. Writing. Analysis.
Key insight: The critic must have clear criteria. "Is this good?" is useless. "Does this handle edge case X?" is useful.
Failure mode: Infinite loops. Always have a max iteration limit. Sometimes "good enough" after 3 iterations beats "perfect" after 10.
Pattern 5: Human-in-the-Loop
Agent proposes, human approves, agent continues.
flowchart TD
    A[Request] --> B[Agent proposes action]
    B --> C{Human Review}
    C -->|Approved| D[Execute]
    C -->|Rejected| E[Agent revises]
    E --> C
    D --> F[Continue]

    class C decision
    class D,F success
    class E special
When to use: High-stakes decisions. Actions with real-world consequences. Anything involving money, customer communication, irreversible changes.
Key insight: The human gate should be at decision points, not everywhere. Too many approvals = approval fatigue = rubber stamping.
Failure mode: Blocking too often. If humans approve 99% automatically, the gate is probably in the wrong place.
Pattern 6: Debate/Committee
Multiple agents independently assess, then reconcile.
flowchart TD
    A[Decision Needed] --> B[Agent A]
    A --> C[Agent B]
    A --> D[Agent C]
    B & C & D --> E{Judge Agent}
    E --> F[Final Decision]

    class B,C,D worker
    class E decision
    class F success
When to use: Decisions where diverse perspectives genuinely help. Risk assessment. Ethical considerations. Complex tradeoffs.
Key insight: The perspectives must actually differ. Same model three times isn't debate. Different instructions, different priors, different emphases.
Failure mode: Artificial disagreement. If agents always agree, you don't need a committee. If they always disagree, the judge is just picking randomly.
Pattern 7: Pipeline (Sequential Handoffs)
Each agent handles one stage, passes to the next.
flowchart TD
    A[Raw Input] --> B[Extraction Agent]
    B -->|Structured Data| C[Validation Agent]
    C -->|Verified Data| D[Enrichment Agent]
    D -->|Enhanced Data| E[Output Agent]
    E --> F[Final Response]

    class B,C,D,E worker
    class F success
When to use: When stages are truly sequential and benefit from specialization. Data processing. Document workflows.
Key insight: Each stage should add clear value. If a stage is just "check and pass through," eliminate it.
Failure mode: Too many stages. Each handoff adds latency and potential for error. Fewer stages is usually better.
Implementation Notes
1. Clear Contracts
Each agent should have:
- Defined input format
- Defined output format
- Clear success/failure criteria
Without contracts, agents can't reliably communicate.
2. Error Isolation
One agent failing shouldn't crash the whole system. Handle failures gracefully:
- Timeouts per agent
- Fallback behaviors
- Clear error reporting
3. Cost Tracking
Multi-agent = multi-cost. Track spending per agent, per pattern, per execution. Optimize the expensive parts. (See The Cost Problem in AI Nobody Talks About for more on this.)
4. Observability
Debugging multi-agent systems is hard. Log everything (see A Manifest for Better Logging):
- Which agent did what
- What was passed between agents
- Where time was spent
- What decisions were made
5. Start Simple
Begin with a single agent. Add complexity only when you have evidence it helps.
Most systems I've seen start too complex. The best multi-agent systems evolved from single-agent systems that hit clear limitations.
Multi-agent systems aren't magic. They're architecture. Use them when the architecture genuinely serves the problem. Otherwise, a good single agent with the right tools will serve you better.